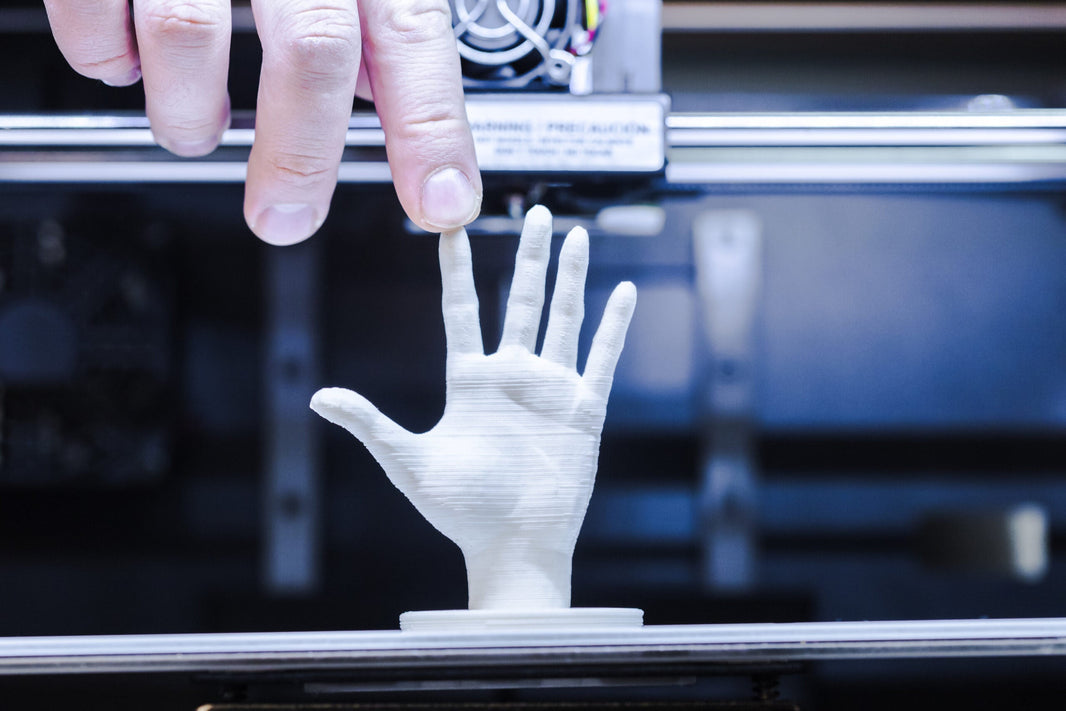
Embarking on your 3D printing journey is exciting—the thought of turning digital designs into physical objects, right at your desk, feels almost magical. Yet, for many beginners, the first steps can seem intimidating. With unfamiliar terms like slicer, G-code, and bed leveling flying around, it’s no surprise that some give up before even hitting “print.”
The good news? You don’t need to be an engineer or a tech wizard to succeed. Learning how to use a 3D printer is a straightforward process once you break it down. This guide walks you through every stage—from unboxing your printer to finishing your very first project—so you can confidently dive into the world of 3D printing.
The Three Essentials You Need to Know Before Your First Print
The Essential Tools and Software for Your 3D Printer
A successful 3D print depends on more than just the printer itself. Think of your setup as a small workshop made up of three key elements:
-
The Printer – Your machine is the centerpiece. For beginners, a reliable FDM (Fused Deposition Modeling) printer is ideal thanks to its simplicity and wide support community.
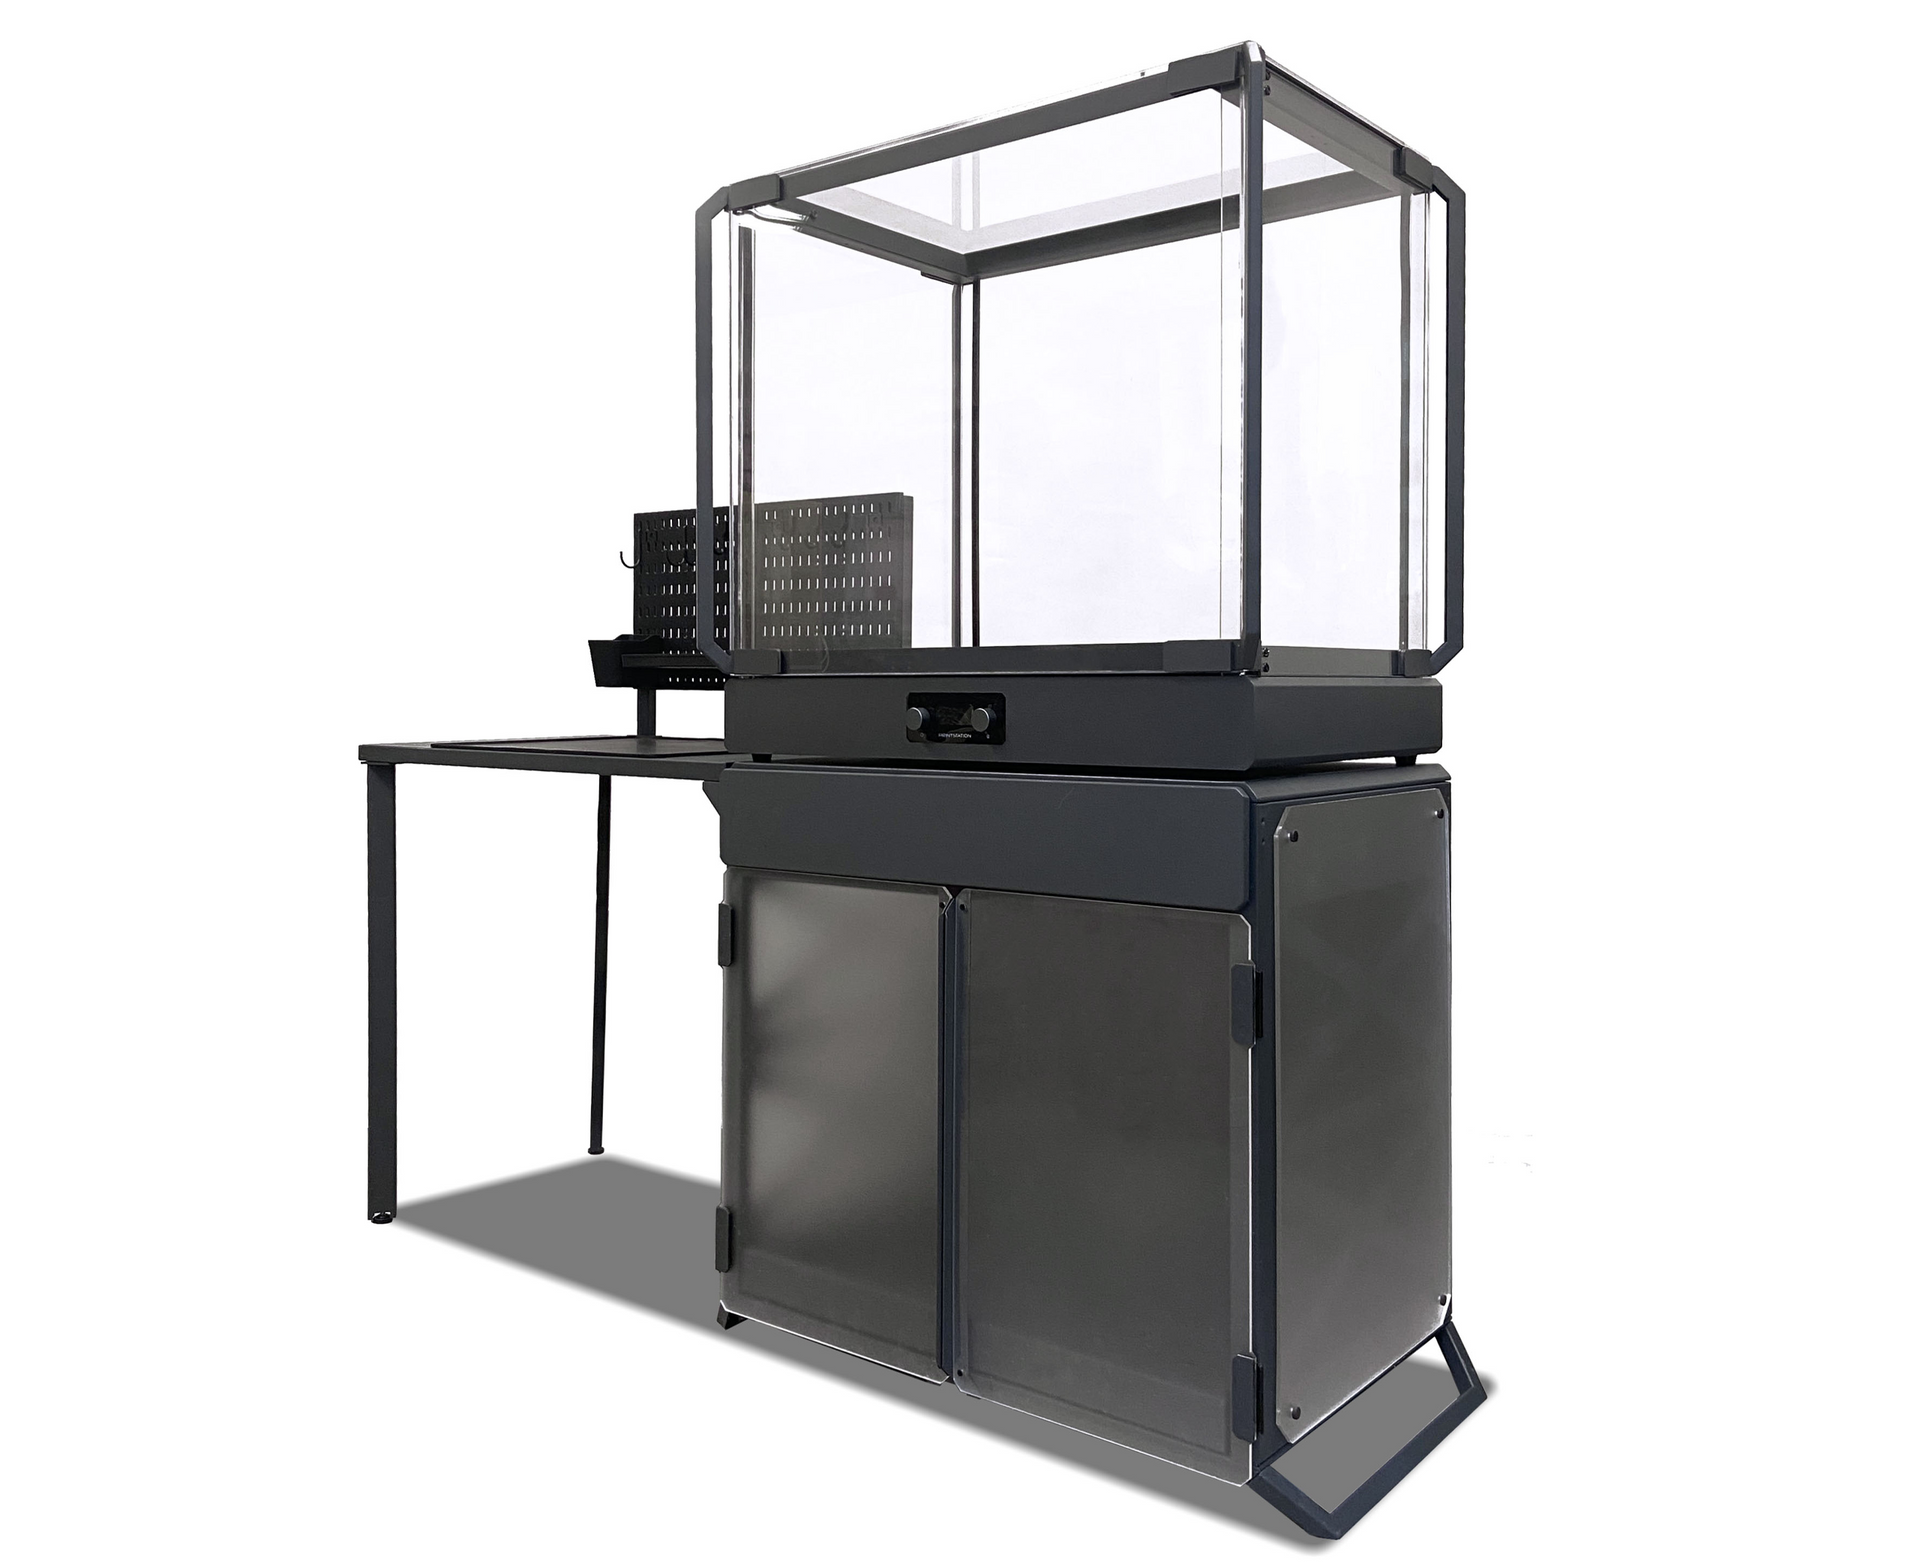
Explore our full range of enclosures, workstations, and professional 3D printing equipment here.
-
The Filament – This is the “ink” of your printer. PLA is the most beginner-friendly material: affordable, easy to work with, and forgiving of small mistakes.
For additional guidance, we’ve put together a detailed resource "Stop Wasting Money! 7 Pro Tips for Choosing the Best 3D Printer Filament". -
The Software – A slicer program turns your 3D model into detailed instructions (G-code) that your printer understands. Free, trusted options include Ultimaker Cura and PrusaSlicer.

- Add a few basic tools—a scraper for removing prints, flush cutters for trimming filament, and a pair of calipers for measuring—and you’ll have everything you need to get started.
Step 1: From Idea to Design
Every 3D print starts with a model. Beginners usually take one of two routes:
-
Download an existing design – Websites such as Thingiverse, MyMiniFactory, and Printables host thousands of ready-to-print files ranging from desk organizers to miniature figurines.
-
Create your own – Feeling creative? Free, beginner-friendly software like Tinkercad lets you design simple models with a drag-and-drop interface—no engineering degree required.
Step 2: Slice It Up
Once you have your 3D model (usually in .STL format), you’ll need to “slice” it. This process converts your model into thousands of layers and generates the G-code that instructs your printer.
Key slicer settings to understand:
-
Layer Height – The resolution of your print. Smaller layers (0.1 mm) produce fine detail, while thicker layers (0.28 mm) print faster but look more textured.
-
Infill – The internal structure of your model. Higher infill (e.g., 50%) makes a part stronger; lower infill (10–15%) saves time and material.
-
Supports – Temporary structures that hold up overhanging parts. Essential for models with arms, bridges, or other “floating” elements.
-
Bed Adhesion – Methods like brims or rafts help ensure your print sticks securely to the build plate.
Step 3: Calibrate for Success
The first layer can make or break your print. If it doesn’t stick, the rest will fail. This is why bed leveling is crucial.
-
Manual leveling uses adjustment screws to fine-tune the distance between the nozzle and the build plate. A piece of paper works as a simple gauge—the nozzle should just “grab” the paper without tearing it.
-
Automatic leveling (available on newer printers) simplifies the process with a built-in sensor, though occasional manual checks are still recommended.
Always preheat your printer to the recommended temperatures for your filament before starting.
Step 4: Start Printing
With your G-code file saved to an SD card or USB stick, load it into your printer and begin the print.
Pay close attention to the first few layers. The filament should flow smoothly, stick evenly, and show no gaps or excess squishing. If things don’t look right, pause, re-level, and restart.
Step 5: Post-Processing
When your print finishes, it’s time for cleanup. Use a scraper to carefully remove the model from the bed. Trim away supports with flush cutters, then smooth rough edges with sandpaper or a hobby knife. If you’re after a professional finish, polishing or painting can take your project to the next level.
Troubleshooting Common Issues for Beginners: Learn from the Pros
Even professionals deal with failed prints. Here are some common beginner issues and quick fixes:
-
Print won’t stick to the bed → Re-level your bed, clean the surface, or add adhesion aids like glue stick or hairspray.
-
Spaghetti mess → Likely caused by poor first-layer adhesion. Stop, re-check calibration, and restart.
-
Stringing/oozing → Adjust your retraction settings in the slicer.
-
Layer shifting → Check your belts for proper tension and ensure your printer is on a stable surface.
Tips to Make Learning Easier
-
Start with PLA: The most forgiving filament for new users.
-
Use slicer presets: Most slicers include pre-made profiles for common printers.
-
Be patient: Calibration and trial-and-error are part of the process.
-
Join a community: Online groups like Reddit’s 3Dprinting are full of enthusiasts eager to share tips.
Taking It Further
Once you’re comfortable, expand your skills:
-
Experiment with new filaments like PETG (strong, durable) or TPU (flexible and fun).
-
Invest in an enclosure for materials like ABS, which need stable temperatures.
-
Learn advanced design software such as Fusion 360 or Blender for custom, functional parts.
Final Thoughts: Your 3D Printing Journey Starts Here
You’ve now mastered the fundamentals of how to use a 3D printer—from choosing a model and slicing it correctly, to calibration, printing, and post-processing. With this knowledge, you’re no longer just a beginner—you’re ready to take on bigger projects with confidence. The world of 3D printing is wide open, whether you’re creating practical household tools, custom prototypes, or artistic designs.
Remember, success in 3D printing isn’t only about the printer and filament—it’s also about maintaining an efficient and organized workspace. A clean setup leads to smoother projects and fewer frustrations. That’s why tools like the SwiftBuilder MKII Resin Vacuum are game changers. They simplify post-processing, keep your environment dust-free, and let you focus on what matters most: bringing your ideas to life.
Your journey to 3D printing mastery begins now—the only limit is your imagination.